 4K ad in 5 hours12 minByteDance's Seedance 2.5 now renders native 4K, and a Christmas supermarket heist short shows what one person can ship in five hours. The trick isn't the video model. It's handing pre-production to Claude, wiring it to a generator over MCP, and locking the camera before you prompt a single frame.Read now →
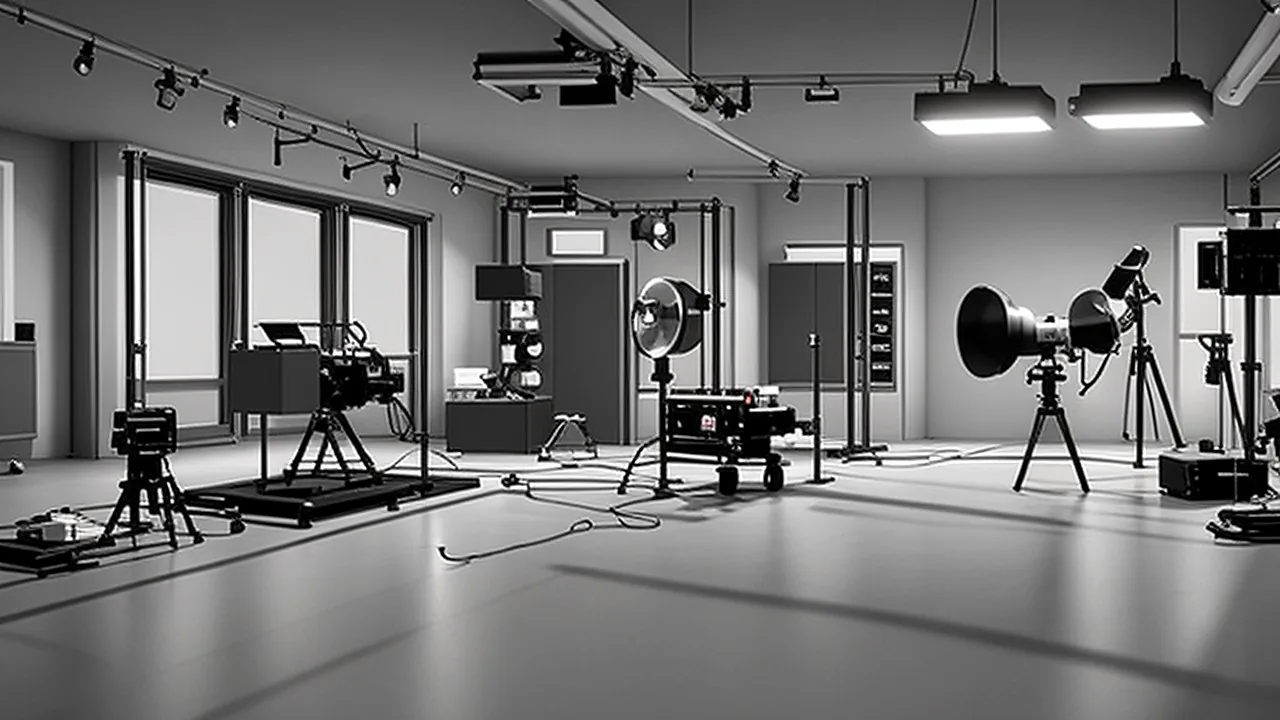
The Secret to AI Video That Actually Does What You Want Is a Free 3D Program. Here's the Claude + Blender Workflow
Prompting alone can't give AI video perfect camera moves or consistent sets. Building a rough 3D version first can. With Blender's new MCP add-on, Claude or a Higgsfield plugin can build the scene from a sentence, and Seedance 2.5 turns that grey-box animation into a polished, consistent clip. Here's the beginner and advanced workflow, step by step.
Advertisement
Every AI video creator hits the same wall.
You write the perfect prompt. The generator gives you something beautiful, and wrong. The camera drifts left when you wanted it to push in. The hallway changes between shots. The character walks through the wrong door.
The fix that serious creators are converging on sounds backwards: before you generate anything, build a rough version of the scene in 3D.
Blender, the free, open-source 3D program, can now be driven by AI. Describe a scene in plain English and Claude, or a plugin, builds it for you: the room, the blocky stand-in characters, the camera path, the timing. You render that grey-box animation to an MP4 and hand it to a video model like Seedance 2.5 as a reference. The AI keeps your camera and choreography and paints in the realism.
Advertisement
You don't need to know Blender. Here's the whole workflow, from a five-minute beginner setup to an advanced pipeline with Claude, plus the tips that save you credits.
Why 3D first?
Two reasons make this worth the extra step.
1. Perfect consistency. When the whole set exists in 3D, every shot shares the same geometry. The hallway is always the same length, the desk is always by the window and the door always opens the same way. Prompt-only video has to reinvent the room every generation.
2. Better references than words. "Slow dolly in, then pan right as she enters" is ambiguous. A rendered animation is not. The video model sees exactly how the camera moves and when each object moves. Seedance 2.5 accepts reference videos for exactly this kind of camera and blocking control, and tutorials from Curious Refuge and others now teach this approach.
Think of it like a film director's previsualization, or "previs," the rough animated plans studios make before shooting. AI has made previs nearly free.
The beginner workflow: Blender + the Higgsfield plugin
This route keeps you inside Blender and lets you control everything by prompting.
Step 1: Install Blender
Blender is free on Windows, Mac and Linux. Note that the official Blender MCP add-on requires Blender 5.1 or newer.
Step 2: Add the Higgsfield plugin
Higgsfield, the AI video and image platform, offers a Blender plugin with a built-in MCP bridge. It requires a paid Higgsfield plan.
- Download the plugin's zip file.
- Drag it into Blender and confirm the install.
- Sign in to Higgsfield.
- Press N to open Blender's side panel, choose the Higgsfield tab, go to MCP and click Enable MCP control.
That's the whole setup.
Step 3: Generate your first scene from a sentence
In the plugin's chat box you can pick a free mode, but for the best results creators recommend a top model such as Claude Opus 5.5.
Then describe the scene. One example: a POV shot of a tired man coming home late to a small apartment; he opens the door, his annoyed wife steps into frame, and he walks past to his room, switches on the light and sits down at his gaming PC.
Crucial tip: ask for a "low poly" scene. Highly detailed geometry can make an ordinary computer crawl, and you don't need detail; this is only a reference.
Hit generate. Depending on complexity, it takes roughly five to ten minutes. Press play and you'll see a crude but complete animation: the door, the wife, the walk to the desk, the light switching on. It may look glitchy. That's fine. You're making a blueprint.
Blender navigation in 60 seconds
You only need a handful of controls:
- Scroll wheel: zoom in and out.
- Click and drag the scroll wheel: orbit around the scene.
- Shift + drag the scroll wheel: pan left, right, up and down.
- Numpad 0 (or View > Cameras > Active Camera): jump back to the camera's view.
- File > Save As: save often. Blender can crash on big scenes.
Zoom out and you'll see the plugin built an entire little apartment, not just what the camera sees.
Export your reference video
- Open the Output properties.
- Choose a file path and name.
- Set the format to MP4 with H.264 encoding.
- Go to Render > Render Animation.
The render looks better than the viewport preview, with more natural shadows, which makes it a stronger reference. Guides for Seedance suggest a reference clip at around 24 fps, 720p or 1080p and under about 200 MB.
Change the scene with words
Don't like something? Go back to the plugin's scene builder and prompt the change, for example: "the woman is now holding a crying baby, rocking it in her arms." A few minutes later the variation appears. Render again.
Build your visual anchors
The grey-box tells the AI where things go and how the camera moves. It says nothing about what anything looks like. If you skip this step, the video model will invent your characters and sets, and you lose control.
You need three kinds of assets:
- Character sheets. Images of each character from multiple angles.
- Location stills. Here's the clever part: take a screenshot of your Blender scene, the hallway or the gaming corner, and feed it into an image model with an instruction like "turn reference image 1 into a realistic, cinematic live-action still of a cramped apartment hallway." One creator used Google's Nano Banana Pro at 2K inside Higgsfield.
- Repeat for each key area of the set.
Because the stills come from your 3D layout, they match your geometry exactly.
Write the video prompt with an AI "skill"
You could handwrite a long Seedance prompt. It's smarter to let a language model do it consistently.
Creators package their prompt-writing rules as a skill, a reusable instruction file, and install it in Claude (Settings > Customize > Skills > Add > Upload skill) or another assistant that supports skills. Then you call it, attach your reference video and images, and label every attachment: "image 1 is the wife, image 2 is the hallway, image 3 is the gaming setup." Clear labels are what let the model understand which reference does what.
The result is a detailed, structured video prompt. Read it before you use it. You're the director.
Generate in Seedance 2.5
In Higgsfield's video section, choose Seedance 2.5:
- Upload the reference video and every image asset.
- Paste the prompt.
- Double-check that image numbers match the prompt. One creator caught that their wife and gaming-room images were swapped. Mismatches waste credits.
- Match the duration to your reference. In the example, 25 seconds.
- Optionally run a cheaper draft first, then upscale to 1080p.
The result follows the Blender camera path exactly, keeps the characters and sets consistent with your anchors, and Seedance adds audio too, including the baby's crying.
For more on what Seedance 2.5 can do on its own, see our Seedance 2.5 commercial workflow.
The advanced workflow: Claude drives Blender directly
The beginner route lives inside Blender. The advanced route moves the brain into Claude, using Blender's official MCP server, which gives you more control over complex, multi-shot scenes.
Step 1: Make your location asset first
Ask Claude to write an image prompt for your set. In one example it was a giant terrarium for a chase scene. Run that prompt through several image models in Higgsfield and pick the best result. That image becomes the visual reference for Blender.
Step 2: Connect Blender to Claude
- In Claude's desktop app: Settings > Customize > Connectors, search for Blender and install it.
- Click View details > Instructions, which takes you to the official MCP Server page on blender.org's Lab site.
- Download the add-on link and drag it into Blender. The official instructions say to do this twice, first to add the repository and then to install the add-on.
- In Blender: Edit > Preferences > Add-ons, confirm the MCP add-on appears.
- Under System > Network, turn on Allow Online Access.
- Back in Add-ons, open the MCP add-on and start the bridge server.
- Test it by asking Claude: "Am I connected to Blender?"
Step 3: Build, critique, rebuild
Drop in your location image and describe the set. Claude builds it in Blender.
Expect the first version to be off. In the terrarium example, it was far too small for a chase and cluttered with bushes and trees. The fix was conversational: ask Claude to make it bigger and emptier. The result was a bare-bones set.
Key insight: you don't need detail in Blender. Foliage, textures and set dressing can all come from the video model. Keep the 3D lean and save compute.
Step 4: Storyboard, then block the action
Two pieces of advice from creators who use this daily:
- Don't let Claude do the creative thinking. Know what you want before you start. The AI is your crew, not your director.
- Storyboard if you can't picture it. A rough sketch, say a giant reptile chasing two characters with its tongue lashing out, gives Claude a concrete target.
Feed Claude the storyboard, character images and creature image, and describe the action. It builds the animated scene: blocky stand-ins for the heroes, a big block for the reptile, a tongue shooting out. Crude, but the camera and timing are exactly what you want.
Step 5: Lock the camera path in your prompt
Export the MP4 and load everything into Higgsfield: the reference video, the location still, the character sheets and the creature image.
When you write the final prompt, spell out that the model must follow video 1 for camera angles, framing and the continuous camera path, then describe the beats in order. In the terrarium chase, that meant an overhead opening shot, a descent toward the first character, a pan to the second and a tilt up to reveal the creature. Naming the moves in sequence reinforces what the reference shows.
Step 6: Lock the voices too
One more trick makes multi-clip stories feel professional: voice references. Seedance 2.5 in Higgsfield accepts audio files as references, so you can upload a short sample of each character's voice. Every clip then keeps the same voices, the audio equivalent of a character sheet.
Match the duration (10 seconds in the chase example) and generate. The result followed the Blender camera path exactly, including a complex continuous move that is very hard to get by prompting alone. That's the real payoff: fewer rerolls, fewer wasted credits and shots that were previously out of reach.
Common mistakes that waste credits
Creators who use this pipeline daily point to the same handful of errors:
- Over-building the 3D scene. Detailed props and foliage slow Blender down and add nothing the video model can't paint in. Block shapes and clean spaces work best.
- Unlabeled references. If the prompt says "image 2 is the hallway" but you uploaded the hallway third, the model will mix up your sets. Check the order every time.
- Mismatched durations. If your reference is 25 seconds and you generate 10, the model has to compress or improvise the camera path.
- Letting the AI invent the story. Claude is excellent at building what you describe and weak at knowing what you want. Arrive with a storyboard, even a stick-figure one.
- Skipping drafts. For long or complex shots, a cheap draft generation catches problems before you pay for 1080p.
- Forgetting to save. Large scenes can crash Blender. Save before every big prompt.
Who this workflow is for
- Short-form storytellers who want recurring characters and sets across episodes.
- Brands and agencies that need a product to move exactly the same way in several cuts.
- Indie filmmakers using AI for previs, pitching shots to collaborators before committing budget.
- Music video creators who need camera moves timed precisely to a beat.
If you only need one-off clips with no continuity, plain prompting is still faster. The moment you need control or consistency, 3D-first wins.
Why this matters
For two years, AI video has been a slot machine: pull the lever, hope for a good result, pay for every spin. The 3D-first approach turns it into filmmaking:
- Control. You decide the camera, the blocking and the timing.
- Consistency. Multi-shot sequences finally share one world.
- Lower cost. Fewer wasted generations because the model has less to guess.
- No 3D skills required. Natural-language control of Blender lowers the barrier enormously.
It also hints at a bigger shift: AI tools increasingly work best when they control real software, not just generate pixels. We've seen the same pattern with Claude editing short videos and AI motion design with Claude.
Limits and costs to know
- Paid tools add up. Higgsfield's plugin needs a paid plan, and Seedance generations cost credits.
- Generation isn't instant. Scene builds take minutes, and renders depend on your PC.
- Hardware matters. Stick to low-poly scenes on modest machines.
- Scene builds are imperfect. Expect several rounds of conversational fixes.
- Online access. The MCP bridge needs Blender's network access enabled. Only install add-ons from official sources like blender.org.
Quick-start checklist
- Install Blender 5.1+.
- Choose your route: Higgsfield plugin (simplest) or Claude + Blender MCP (most control).
- Prompt a low-poly scene and fix it conversationally.
- Render an MP4 reference (H.264, about 24 fps).
- Screenshot key areas, turn them into realistic stills, and make character sheets.
- Generate a labeled, structured prompt with a skill.
- Generate in Seedance 2.5, matching duration and checking image numbers.
FAQ
Do I need to know Blender? No. AI builds the scenes. You only need basic navigation: scroll to zoom, middle-drag to orbit, shift-middle-drag to pan and Numpad 0 for the camera view.
Is Blender free? Yes. Blender is free and open source. Higgsfield's plugin and Seedance generations are paid.
What does the reference video actually control? Camera movement, object positions, choreography and timing. Your image assets control how characters and places look.
Can I use Claude without Higgsfield? Yes. Claude's Blender connector works with the official Blender MCP add-on. You still need a video model like Seedance 2.5 for the final render.
Why low poly? Detailed scenes can slow or crash your computer, and the extra detail adds nothing since the video model supplies the realism.
The bottom line
The best AI video creators aren't writing longer prompts. They're building a cheap 3D sketch of the shot first, letting AI build it from a sentence and then letting the video model do what it's best at: making it look real.
With Blender's MCP add-on, Claude or a plugin can handle the 3D part for you. Add good visual anchors and a structured prompt, and Seedance 2.5 turns a grey-box animation into a consistent, cinematic clip with the exact camera move you planned.
Sources
- Blender Lab: MCP Server
- Claude Academy: Using the Blender connector in Claude
- Higgsfield: Higgsfield for Blender, features, installation and MCP bridge setup
- Curious Refuge: How to control AI video camera movements with Blender and Claude
- Oakgen.ai: Blender, Claude and Seedance 2.5 camera blocking workflow

More stories you'll want to read
4K ad in 5 hours12 minByteDance's Seedance 2.5 now renders native 4K, and a Christmas supermarket heist short shows what one person can ship in five hours. The trick isn't the video model. It's handing pre-production to Claude, wiring it to a generator over MCP, and locking the camera before you prompt a single frame.Read now →
 AI edits the short11 minAI can now take a raw talking-head recording full of pauses and retakes and return a captioned, B-rolled, scored short-form video. Here's the full workflow, built from a fresh Claude account: the project, the connectors, the two skills, the real errors you'll hit, and what this means for editors and for everyone's feeds.Read now →
 AI video12 minAI video tools are shifting from one-shot clips to controllable motion and editable workflows. That is the difference between a toy and a production primitive.Read now →
 Genie 411 minDescribe a scene and seconds later you are walking through it, hearing birds, steering a character and arguing with people inside it. Google DeepMind's Genie 4 adds native audio, interactive dialogue and an AI director that keeps the world coherent. Here is what it does, how it works and what it still cannot do.Read now →
 CapCut ops12 minCreators are wiring Claude skills into CapCut timelines — not to replace taste, but to delete repetitive editing chores that never deserved a human afternoon.Read now →
 Claude as your AI OS11 minYou may only be using a sliver of what Claude can already do. Here is the seven-layer personal setup, from a one-page map to connectors, memory, skills and scheduled routines, that turns it into an assistant that works while you are away, plus the risks to check first.Read now →